What is Vintage sewing? At the moment there is a big revival around the vintage styles of garments. The big pattern companies have released some “vintage” sewing patterns for the modern…

What is Vintage sewing? At the moment there is a big revival around the vintage styles of garments. The big pattern companies have released some “vintage” sewing patterns for the modern…

The most practical pockets are those which are simple in style but their shape, trim or even position can make them a fashion detail. Where is the best place for a…

This pattern can be drawn to fit any size cat or dog as you use their measurements to draw the pattern. For the dog coat an “I” bar was added to…

* Fabrics * Zips * Elastic * Sew-A-Long Inserting Open-end Zips Open – end zips are ideal for active sportswear and casual jackets. The bottom stop-splits into two parts to allow…

In this blog: Why we like cotton Other natural fibre fabrics Neatening Raw edges Fabric Grain Sewing Machine Tension In the first episode of the Great British Sewing Bee 2019, the…

When just starting to learn how to sew you do not need to buy tons of equipment. Buy tools when they are needed for a project. Watch the Great British Sewing…

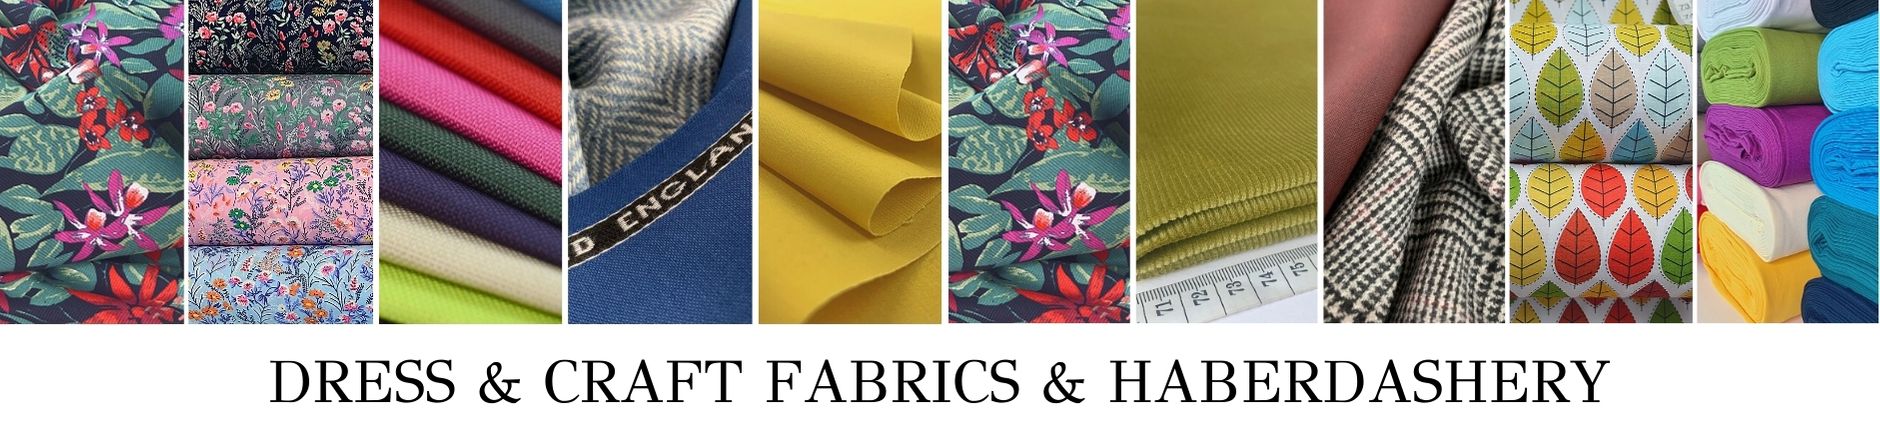
There are a lot of lovely sewing magazines about these days, filled with interesting articles, patterns, adverts and a lot of lovely makes and free patterns. Croft Mill fabrics have a…

Scroll down for the catch up videos of all the previous series of the Great British Sewing Bee. They say time flies when you are having fun, as such I…

Sewing with Fleece fabrics can be very rewarding but unlike a lot of fabrics, fleece is a relative newcomer to the world of fabrics and it is becoming softer, warmer and totally snuggly as…

Sewing Faux fur is different from the normal fabrics we sew with. It is great for certain projects like toy making, warm winter clothing and accessories like scarves and hats, bags,…

Stunning Brocade fabric from Croft Mill Fabrics – Click to Shop What we wear says a great deal about who we are and can influence what people think of us or…

Butterick 5926 About this Jacket This is a jacket pattern suitable for a number of fabrics, it is a fitted unlined jacket with a lapelled collar, pockets and a stitched hem.…

Lace is a timeless fashion favourite. It adds a sophistication to any garment from bridal wear to t-shirts. What types of Lace are there? Here are but a few of the most…

A boiled wool garment is very versatile, great for the office, going out to a special event or for casual wear. It is easy to dress it up or down to suit…

…

…

Our Autumn/Winter Catalogue is now out. We’ve tried to get a good mix of fabrics so hopefully, you will see something you like. To view the catalogue please click the Full-Screen…

Barrier Reef Fabric Jacket Measurements - very important!! No person has perfect measurements, therefore when you are sewing you may need to cut the pattern out over two sizes. Take the…

Fabulous fancy dress fabrics for all your party costumes. From satin to silk, cotton to wool we have a bit of everything. Fancy dress parties increase from Halloween onward. There are…

Party time will soon be upon us, so it is time to start sewing the perfect outfit while there is still time for adjustments and errors – because if you were…


